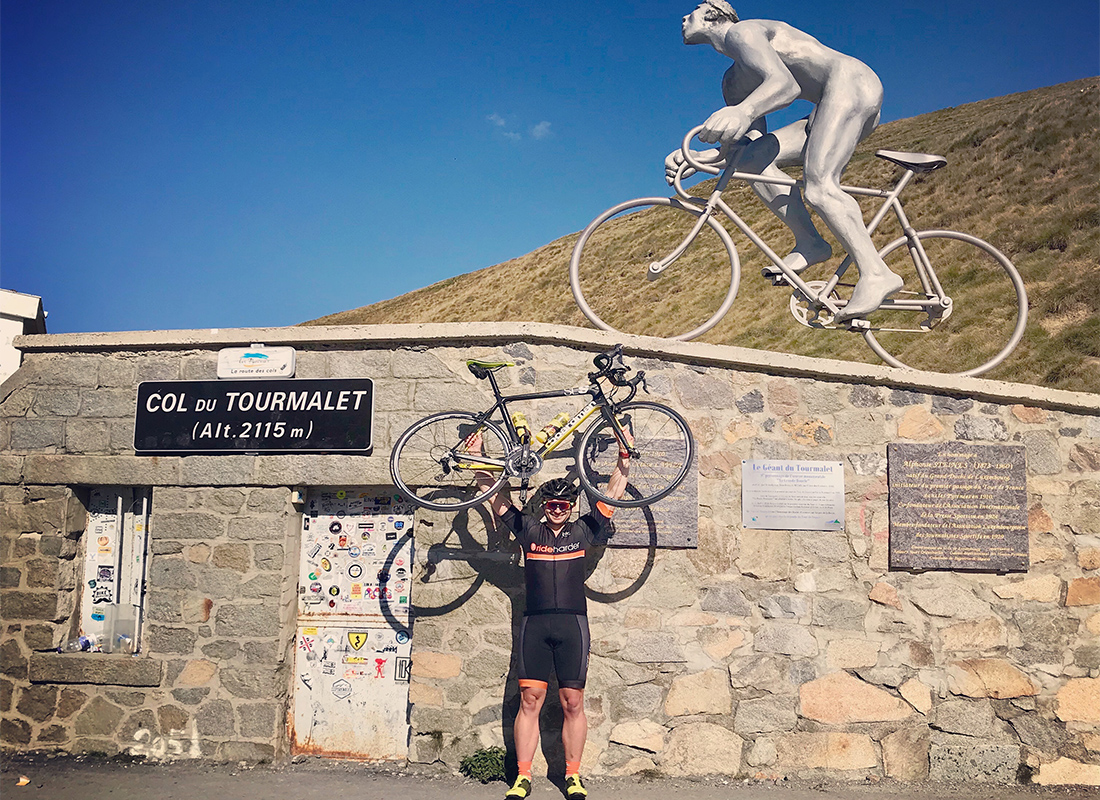
The set up of your road bike is the most important part of cycling. This will not only ensure you are in a safe riding position to prevent injury but also the most efficient riding position. This will result in a faster average speed on the bike.
When you first purchase your road bike the shop generally puts the saddle up to an approximate height and that’s it, off you go. Often people just assume this is it and how it feels is how it should feel. However, you need to set up your road bike so that it is appropriate to you. There are a number of various contact points that all can be adjusted. I will go through the basics here for you.
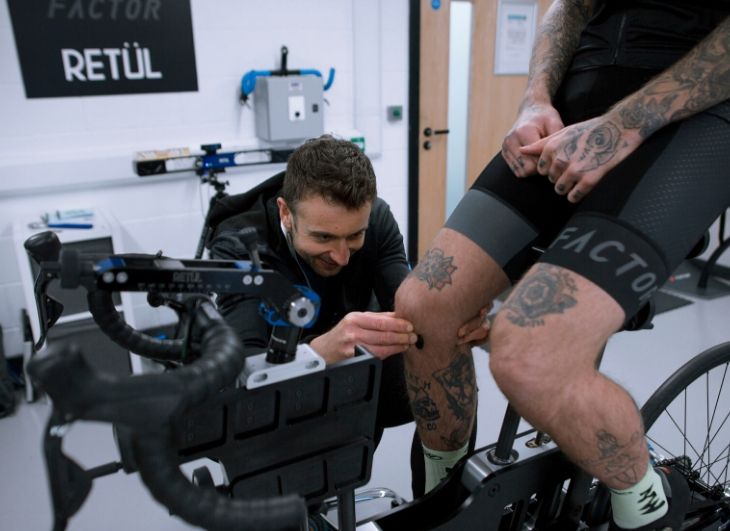
This is not to replace a professional bike fit but can often help with some of the basics. If you have an injury or any concerns whatsoever I would always recommend seeking professional help.
Saddle height
Step one is to set is the saddle height. When you first get a bike the saddle can be too low for many new to cycling. One method is with the pedal arm at the bottom of the pedal stoke you should be able to brush your heel on the pedal with your leg dead straight. This will ensure that you will have a slight bend in the knee when your foot is placed on the pedal.
Alternatively, you can do the simple calculation below, using your inseam measurement to give you the height from the centre of the bottom bracket. Be aware this is an approximate figure and can often be slightly low.
Inseam x 0.887 = saddle height (centre of bottom bracket to the centre top of the saddle)
Saddle fore/aft
This is how far forward/back your saddle is on the rails. What we are looking for is your knee to be over the pedal spindle when your foot is at 3 o’clock. You can check this by dropping a plumb line down from just below the knee cap and see if this is inline with the pedal spindle.
While you are setting this position it is a good idea to check the angle of the saddle. You are looking for it to be flat or around 1deg nose down depending on your preference. You do not want it pointing up as can become quite uncomfortable over time.
Bar reach
Once you have the back end of the bike set up it is time to look at the front. I often see people moving the saddle forward/back to make the bike shorter or longer but this is not correct. You should treat the bike as 2 parts so if the bike is too long for example you need to adress this by replacing the stem for a shorter one. This can be done relativly cheap and can really transform the riding position.
As a rough guide, the handlebar should blank out the front skewer when you are sitting riding on the hoods. If you can see the front wheel axle in front of the handlebars it can be too short. If you can see the skewer before the handlebars then the bike may be a little too long.
Bar height/width
The next section to look at is the bar height. This can be very individual and can depend massively on flexibility and core strength. What we are looking for here is your body weight to be distributed quite evenly front to back with a little more weight on the back. We are also looking for your elbows to be relaxed and not locked out. Play about with the height but adding/removing spacers until you reach a comfortably balanced position. Once you have this set you can then cut your steerer tube on the bike but just remember you cannot put it back!
The width of the bars should match your shoulders or slightly wider when riding on the hoods. When you look down your arms should be quite straight.
It is also worth mentioning here about the angle of the hoods. The top of the handlebar wants to be relativly flat and then the angle to the top of the hood should be around 30deg. If you do not have a digital spirit level then make sure your hands are inline with your forearms. This will ensure that your wrists are not crooked up or rotated too much down and thus putting pressure on them.
Cleat position
There are a number of cleat options out there but essentially they do the same thing of clipping you in while pedalling. This will aid your pedal stroke making it smoother and to help deliver the power. You want to place the cleat on the shoe so that the pedal spindle is between the 1st & 5th metatarsal head on your floor. This is the strongest, widest part of your foot and where you want the pressure. Failing to get this correct can result in pins/needles or hot spots on your foot while pedalling. The angle of the cleat wants to mimic how your feet naturally fall when walking which for many ends up being heel in slightly.
Summary
Hopefully that has helped with some of the basics and you can now set up your road bike. As I said earlier this does not replace the professional bike fit which can go into much more detail and procession. However, it is a great starting point when you buy your first road bike.
If you have any questions then drop them in the comments below and I will answer them.
The studio will have very limited appointments throughout September while I work on the academy launch, so if you are interested in a professional get in touch!
Enjoy your riding and remember it doesn’t have to be uncomfortable!